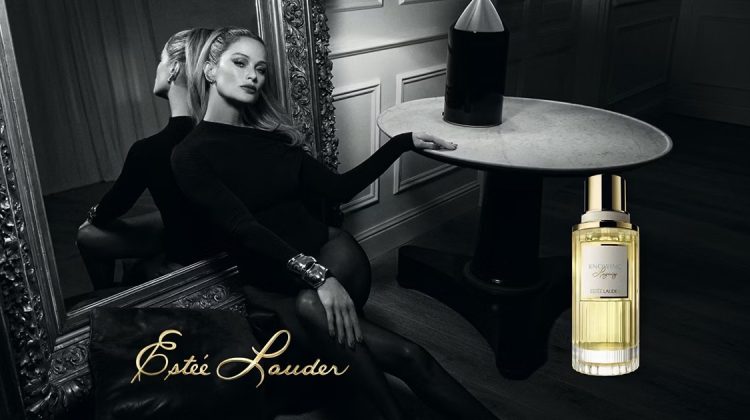
Campaign, Perfume Carolyn Murphy Stuns in Estée Lauder Legacy Fragrance Ad In a graceful fusion of heritage and modernity, Estée Lauder introduces the Legacy collection fragrance, a lineup of five legendary scents revived with a contemporary touch. This …
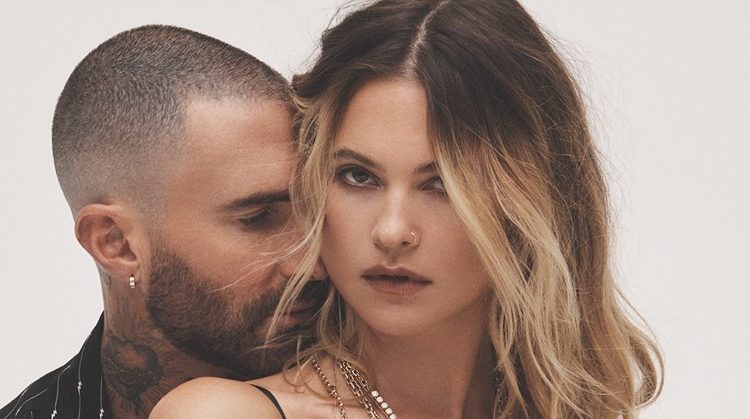
CampaignBehati Prinsloo & Adam Levine Show Their Love in Jacquie Aiche Ad Fashion meets love in Jacquie Aiche’s latest Rebel Heart collection with married couple Behati Prinsloo and Adam Levine. The campaign, …
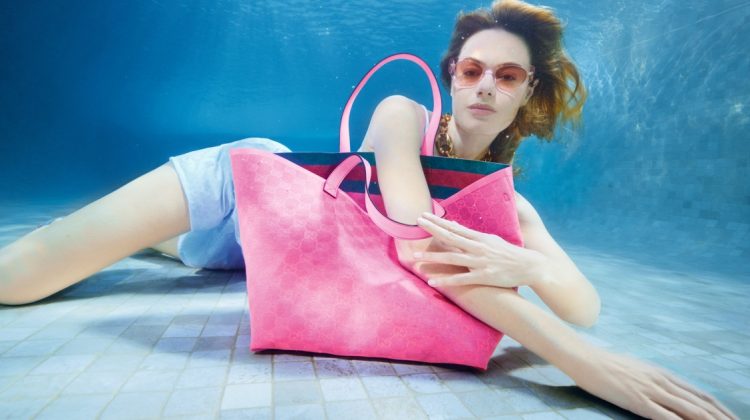
CampaignGucci Lido Makes Waves with Summer 2024 Capsule Collection Gucci dives into the summer season by unveiling the Gucci Lido collection for 2024. Inspired by the idyllic beach clubs …
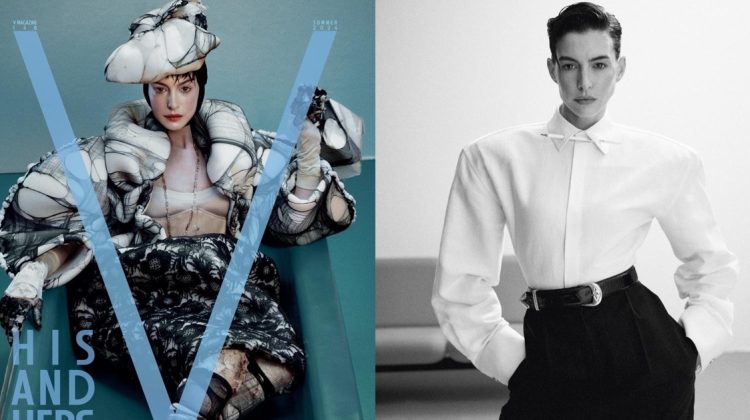
Celebrity, Covers, Photo ShootAnne Hathaway is a Fashion Plate in V Magazine Cover Story Anne Hathaway graces the cover of V Magazine’s V148 Summer 2024 issue in a striking androgynous ensemble that challenges traditional …
Style GuideTypes of Aesthetics: Your Guide to the Top 2024 Styles Style is all about choices, and the different types of aesthetics offer a captivating array of fashion possibilities, each with …
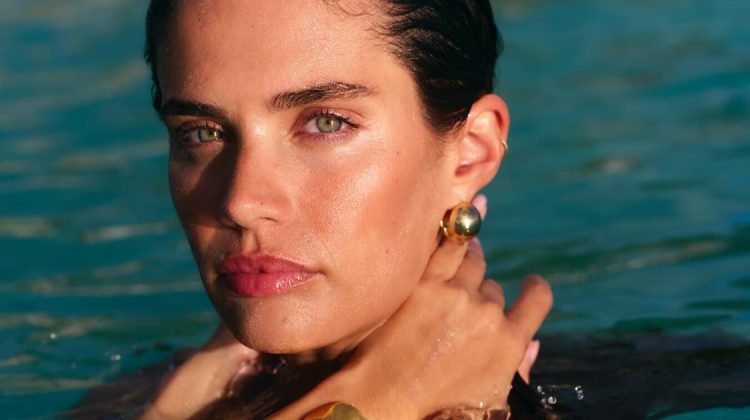
CampaignSara Sampaio Dives Into Hunkemoller’s New Swim Ad The famed Portuguese model Sara Sampaio is the epitome of summer radiance in Hunkemöller’s 2024 Own Your Glow swimsuit campaign. …
CampaignPolo Ralph Lauren Spring 2024: Bright Colors & Relaxed Fits Polo Ralph Lauren has unveiled its spring 2024 campaign, aptly named Only Polo, showcasing a collection that celebrates vibrant, joyful …
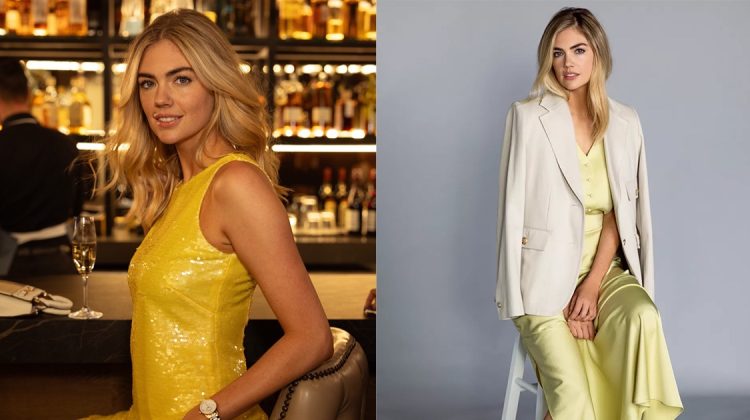
CampaignKate Upton Lights Up Anne Klein Spring 2024 Ad Kate Upton captures the essence of contemporary femininity in Anne Klein’s spring-summer 2024 campaign, delivering an array of looks that …
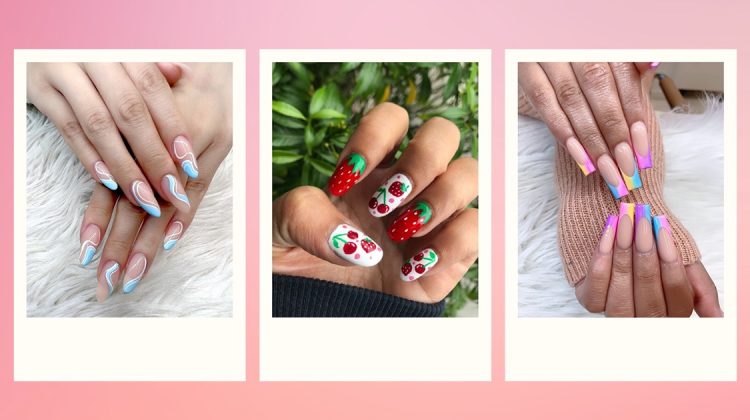
BeautySummer Nail Designs: Ideas to Obsess Over in 2024 Warm weather is perfect for experimenting with bold, vibrant, and whimsical summer nail designs. From psychedelic swirls on stiletto shapes …
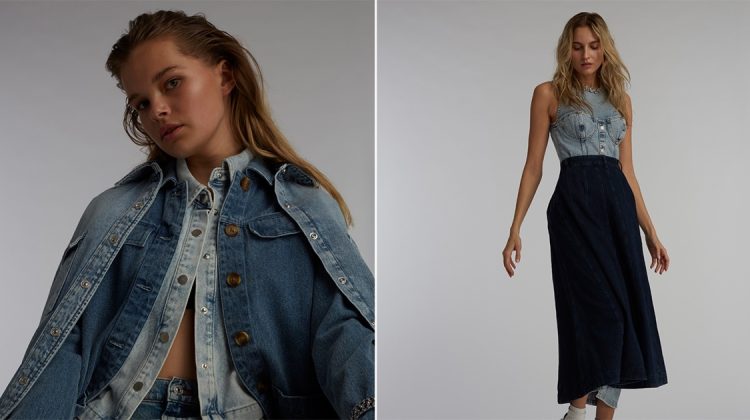
Exclusive, EditorialExclusive: Alina & Jette by Carmelo Donato in ‘Denim Remixed’ In a striking fashion feature captured by Carmelo Donato, FGR’s latest exclusive focuses on denim, with models Alina Enders and …
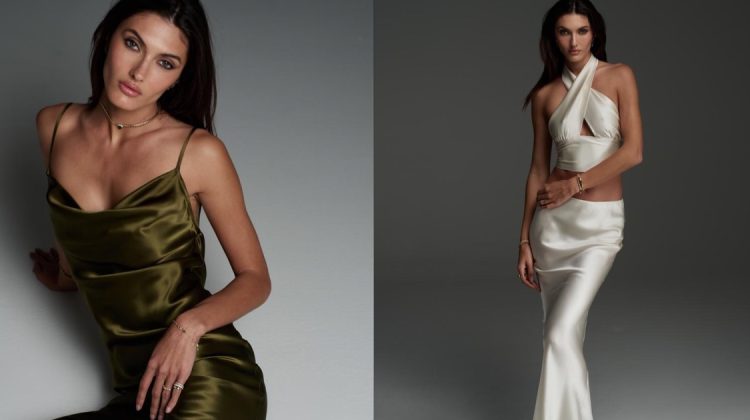
LookbookLogan Hollowell’s Silk Collection Delivers Goddess Glam Logan Hollowell, known for its fine jewelry, ventures into ready-to-wear with the debut of its Silk Collection. The 100% silk …